Friday, November 28, 2014

Aari embroidery tutorial(links)

Wondering what is this... 
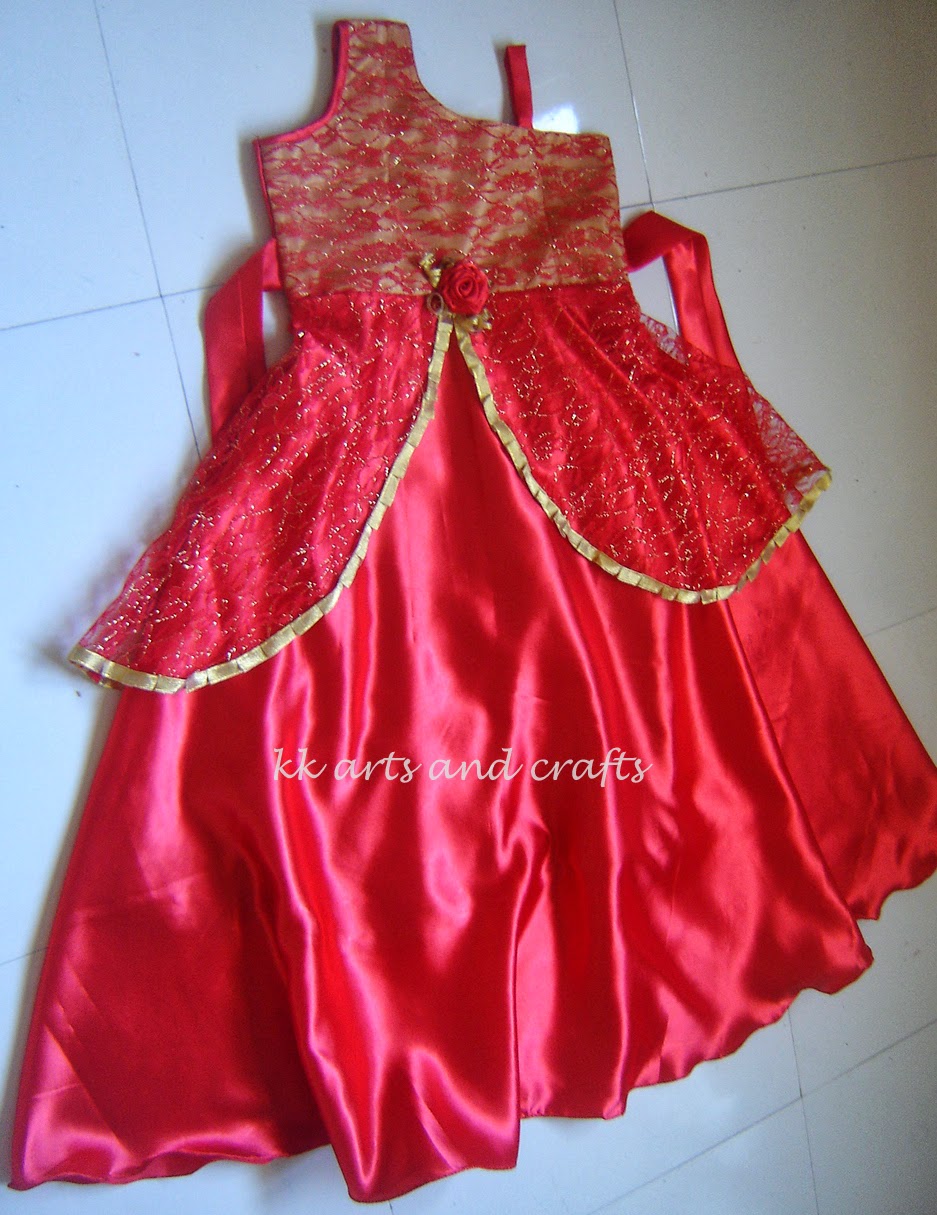
Hand Embroidery is my passion, I love to learn new techniques in it and this is my trail in Aari embroidery. I want to learn it but can't find time to go out, then I searched for tutorials in the net and tried something. The basic chain stitch is similar to crochet stitches, so it was easy for me to learn. Aari work needs a special frame but in the starting I used normal frame. After some trails I worked a simple design in my daughter's silk top.


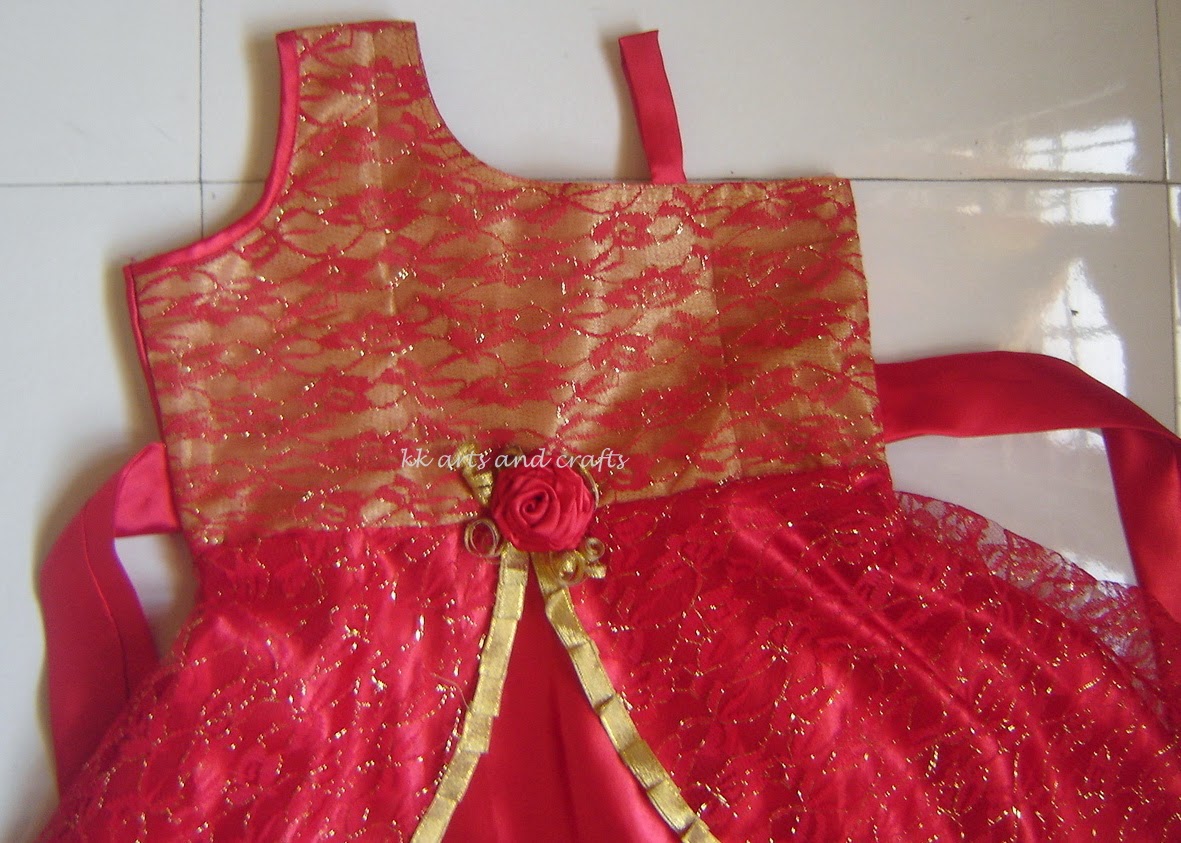
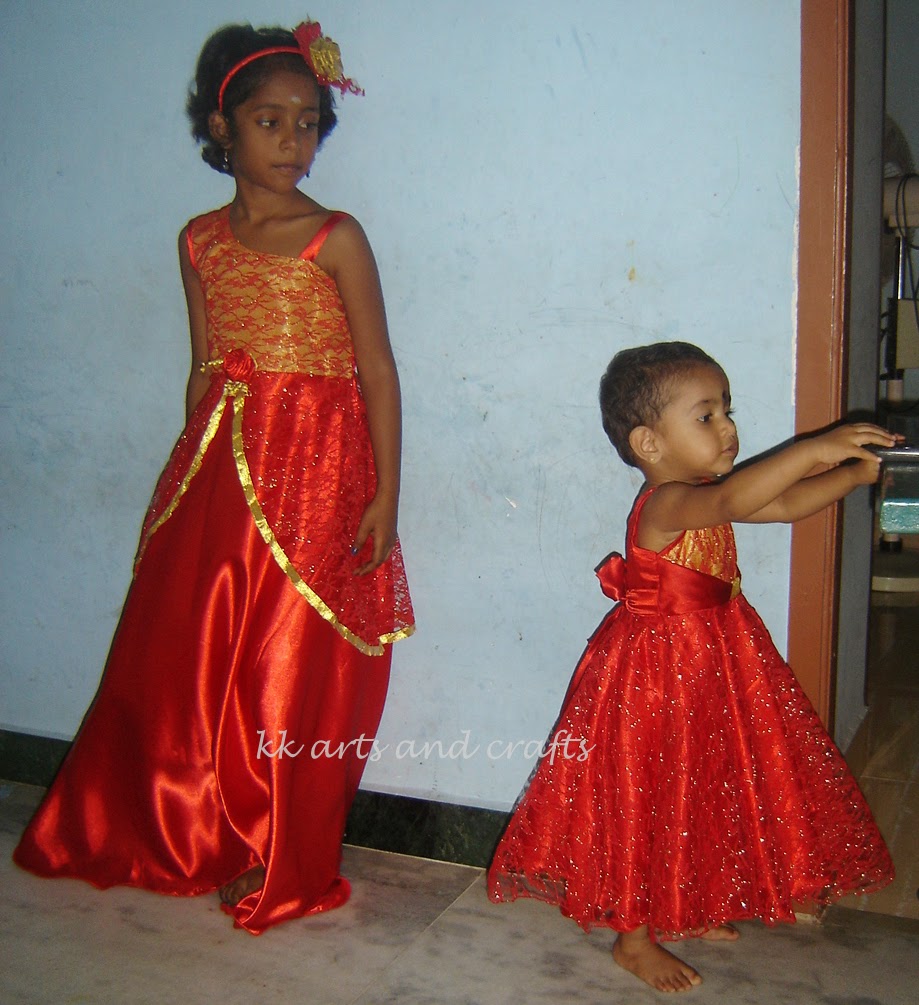
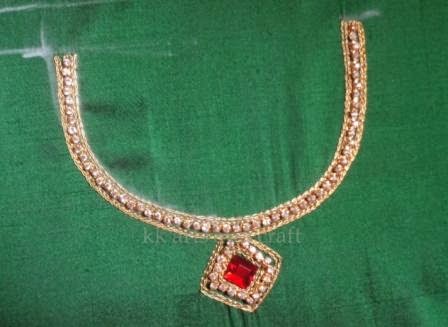
You might have seen this  design with simple chain stitch  and some stone work in my daughter's birthday dress


Still learning it, waiting to find some time to learn the advance stitches...
If you want to try Aari work then you can refer here


Tuesday, November 18, 2014

Tutorials...

Just updated the tutorial page.
I am always self taught. Most of the crafts I do are of that kind, I get inspirations/learn  from televisions, magazines, internet. So as a token of thanks I also make some tutorials, but now as lack of time, I couldn't do it. So I thought to share some of the tutorials which inspires me, helped me a lot. I have planned to share one tutorial/work per week. I have started this with my tutorial page. waiting to share many interesting things...
Thanks to all those who share their knowledge.

Thursday, October 23, 2014

One more dress...

Its a long pending post...the other dress I made for my daughter's birthday. First I thought of making yellow with yellow later I loved the blue velvet and yellow combination.


 yet I have to time that time I kept it very simple, ruffle skirt with plain top and bows.


I also made a matching flower hairband for her...


 Later, when she wore the dress I find something I have to improve in this dress

Taking rest after all celebrations...


I also have a plan to make a dress for the elder one in the same combo.

Tuesday, October 7, 2014

Handbag for me...

Long ago, long...long ago I wished to make a hand bag for me and at last I made one  and used it, for the trip to our native last week.


It is fully lined, with rolled handles, has many rooms to carry my clutch, coin purse, water bottle, camera and loops to hold my keys...so no need to dig my bag to search my keys when I return from shopping :)


 At last I added my favorite red flowers and made it so special for me...only for me.

Wednesday, September 10, 2014

Her Birthday dress

 One more year completed... And my dear little one is now 2 years old. 
 I made two dresses for her.
 Instead of skirt and blouse I made a long dress in silk.
When she grows up, I can use it as top and pair it with leggings(what an idea!!!!:))


Photos by Uthayachandran

This is how, the dress look at the back. 

Photos by Uthayachandran

And the neck design is done by me... aari embroidery with stones. I am learning it, this is first neck design.


Friday, August 22, 2014

Maternity sash action photos...

Some days back I made a  maternity sash for Edita Photography.


Now see the magic...how it looks...The way she handles the props makes them very beautiful.

Photo credit: Edita photography

 Photo credit : Edita photography
You can see more lovely photos in her page. She also have some other talents....She made the maternity gown. Such a beautiful dress and smile!!!

Wednesday, August 6, 2014

Learning new crafts- Home made clay

Yes.... I tried my hands in making homemade clay  and the result was very good. I loved working with it, made many roses, my favorite one. For the past few months I am working with flower projects. Still have some clay remaining and would like to try some more designs when I find time.
 
 
I made some studs using the clay to match the dress. The hairband and studs were custom made for one of my friend's daughter.

Tuesday, August 5, 2014

Cake smash outfit(Baby boy)

Cake smashing outfit made for Edita photography. The hat was a bit tricky to make it with the fabric, but I managed, it turned well and the set was really beautiful.

Flower quilt

Flowers
 

Flowers...
 
             and more flowers...


This is the first time,  I made more than 100 fabric flowers to make flower quilt. we all had fun in making this... my daughter and even my husband helped to arrange the flowers and color combinations.


This flower quilt is custom made for Edita photography.


Image form Edita photography.


 You can visit her page for more beautiful photos

Thursday, July 17, 2014

Baby booties(Crochet)

Can't wait to share this..Just now I got the photos from my sister.


 Baby Booties, I made for my new born nephew.
 I love the cute, chubby feet...Hey little boy we miss you a lot...


Tuesday, July 15, 2014

Lunch mat

After a break, I am back... to share our crafty works...we enjoyed our summer holidays at my native. After a long time, I spent one full month at my mom's place. The kids were very happy, as they spend their holidays with their cousins.. they were super exited to see their newborn cousin. I made a small booties for him, will share it in the next post. Now back to routine and there will more updates here.

 This is what I made after holidays... Lunch mat for my daughter. It has two rooms for spoon and fork.


    We can roll and secure it using Velcro. Compact and fix well in the lunch bag keeping the spoon and fork safe. My daughter also loves this...

Note: Linking this  to Round tuit

Tuesday, May 6, 2014

Holiday Crafts


 This is one of the way to keep my daughter engaged during the summer holidays.

Materials required:
Hand made paper
glue
card borad
scissors

Steps:  
Draw petal shape in chart paper or card board. Here I used old invitation card(recycling). You can draw a rectangle and convert it to a petal


 Draw and cut petals of three sizes, big, small, smaller... li

 Place the petals over the handmade paper draw the outline and cut the petals.


 Here  we have  6 petals in each size. You can cut as much as you wish more petals the flower is more denser.  


Take chart paper or card board, here, once again we used old invitation card.  Draw a circle and paste the big petals in the outer layer of the circle as  shown...


 Paste the small petals inside the circle. Then cut a brown color circle and paste at the middle to cover the empty space.


 Fold the green color paper as shown and draw the leaf, cut 2 or as you wish

 Cut a strip of paper, paste it as a stem. cut clouds in blue, bush in green color(its my daughter's idea). Paste the leaves, clouds, bushes in appropriate places. Cut strips of black paper and paste around the edges to make a frame. You can slightly twist the petals and leaves to make them more natural.
 Punch a hole and tie a ribbon, the flower is ready to decorate your wall.


Monday, April 21, 2014

KK's Boutique

Friends, With immense support from family and friends, I have started an on line boutique to sell my handmade items.

Its here

The face book page is here

 peep in and see whats there. If you like my creations, then invite your friends. Thank you for your support.

Sunday, March 16, 2014

Her Birthday dress

 This is a special post for two things,One its about the dress I made for my daughter and the other is...its my 100th post.
 I thank my family, friends and all who support me through valuable comments and suggestions.
 THANK YOU

  
 This red frock is made for my elder daughter's Birthday.  My plan is to make a yellow dress, I brought the fabric too but she was very determined. She wants only red color, floor length frock as made for her sister's first birthday


.
She was very happy as per her wish the feet were invisible
Its amazing to see her growing....
 The matching hairband for this I made is here

The rose embellishment...


Materials used:
Satin with cotton lining
Lace fabric
Zari

Some more snaps of the sisters in their matching outfits...


Monday, March 10, 2014

Rose hair band


A lovely hair band for lovely girl. Made with tissue cloth, satin ribbon, lace and with lots of love. I am still working on the dress and it may take two more days to complete...


 Another view....


 I am sending this to

The ItsyBitsy Say it with Roses Challenge


http://itsybitsyindia.blogspot.in/2014/02/the-itsybitsy-say-it-with-roses.html